
Contents
ネットワークACLを試してみる
今回はセキュリティグループ(Security Group)での通信制御について確認してみます。
構成は下記をベースにしています。
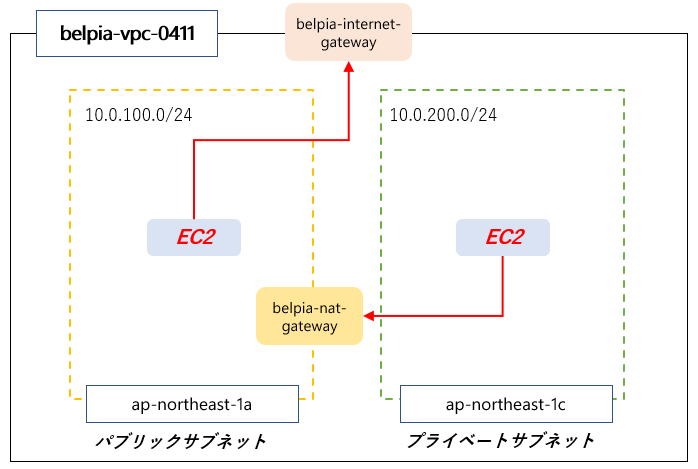
(1)EC2でApacheを動かして自分のパソコンからアクセスする
(2)パブリックのEC2からプライベートのEC2にPingを打つ
最初はネットワークACLとセキュリティグループの違いがややこしかったり、
一番最初に設定されている状態がどうで、新規に作成した時の状態がどうとか少し覚えるのが大変ですが、少しずつ慣れていきましょう。
EC2でApacheを動かして自分のパソコンからアクセスする
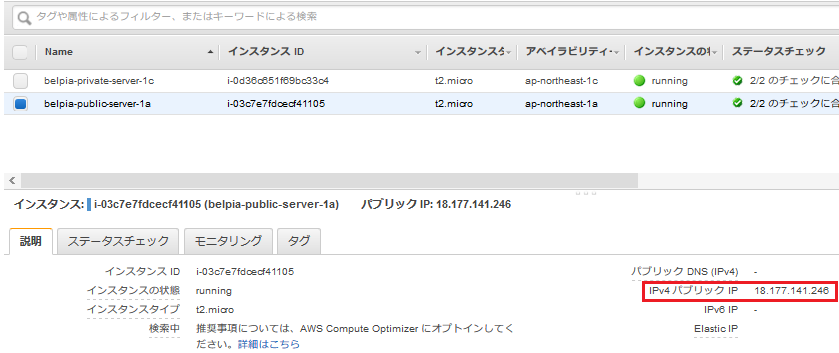
パブリックIPを確認してSSHでEC2にログインする。
EC2でapacheを動かす
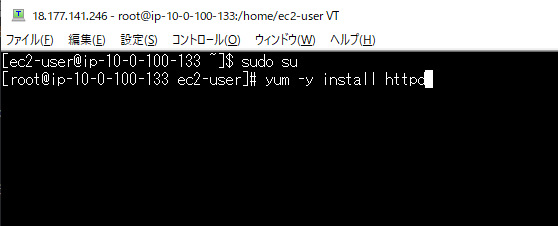
Apacheをインストールします。
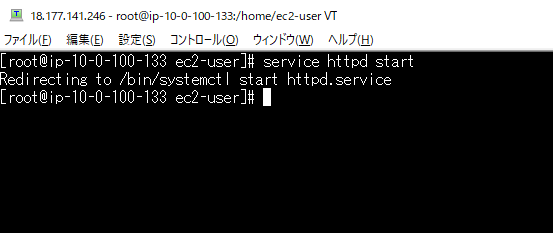
Apacheを起動します。
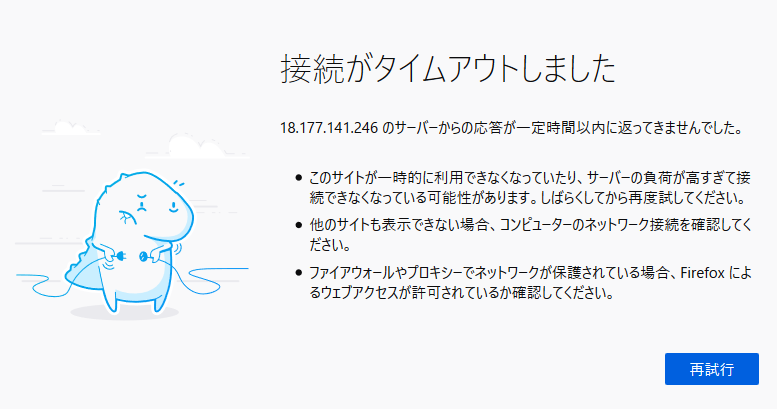
ブラウザにパブリックIPを入力しましたが、
アクセスできない状態です。
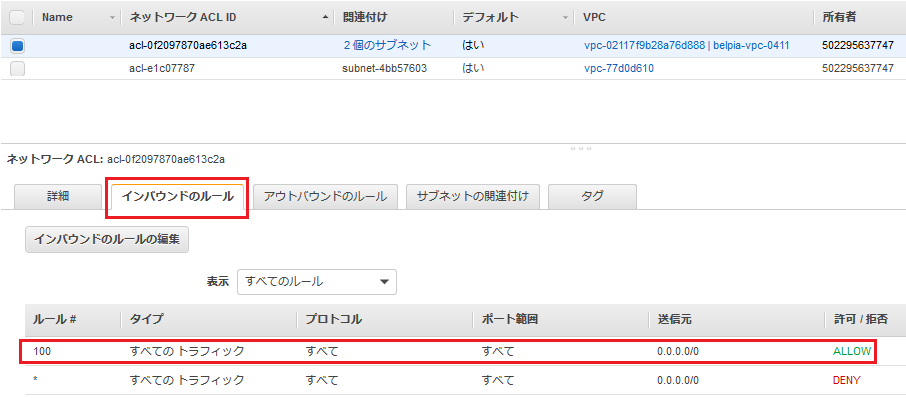
まずネットワークACLの状態を確認します。
インバウンドで全ての通信を許可しています。
つまりネットワークACLでは拒否していないことが分かります。
次にセキュリティグループの設定を確認します。
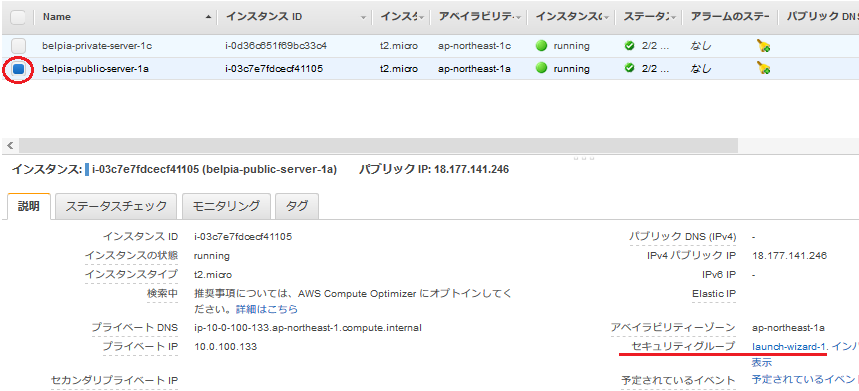
パブリック用のEC2を選択して、右下のセキュリティグループのlaunch-wizard-1をクリックします。
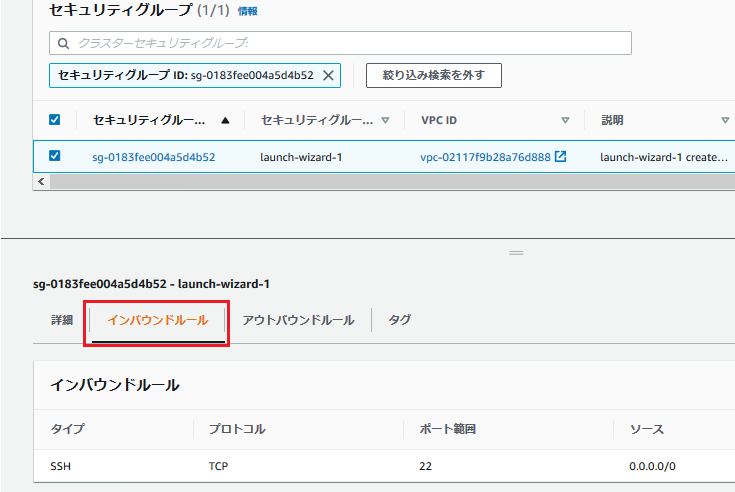
インバウンドルールのタブをクリックします。
SSHで使用する22番ポートのみ許可しています。
つまりHTTPで使用する80番ポートは許可していない事が分かります。
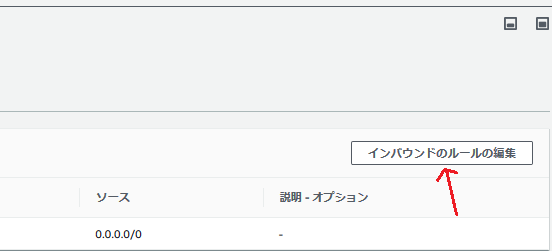
インバウンドルールの編集をクリックします。
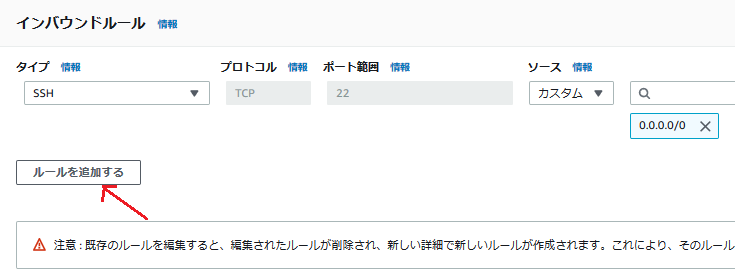
ルールを追加するをクリックします。
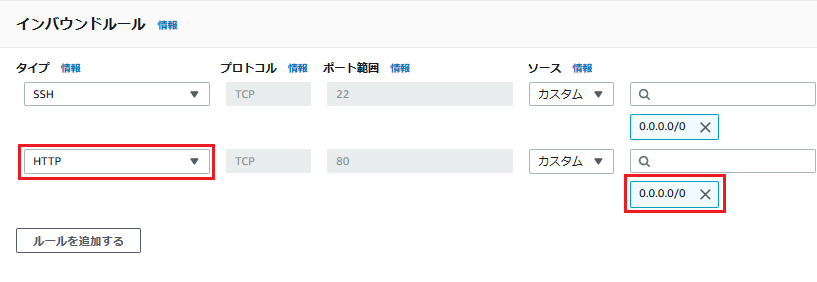
HTTPの通信をどこからでも許可する設定を追加します。

HTTPを許可するルールが追加されました。
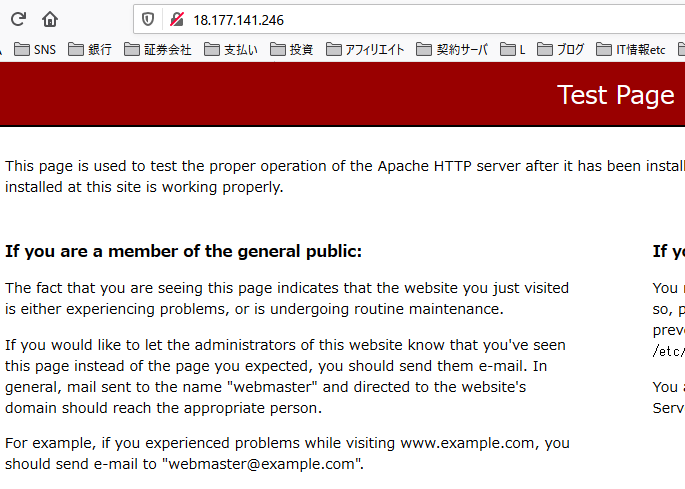
再度パブリックIPをブラウザに入力し、Apacheのデフォルトのページが表示されることを確認します。
EC2間でPingを打つ
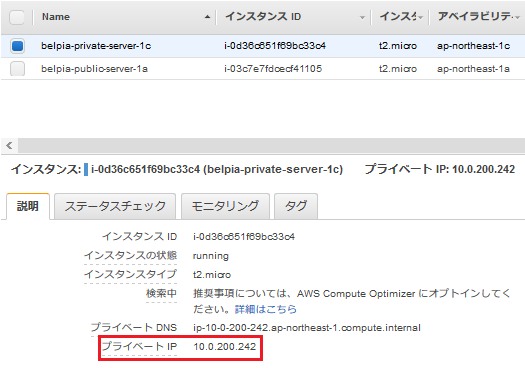
プライベートサブネットに設置したEC2のIPアドレスを確認します。
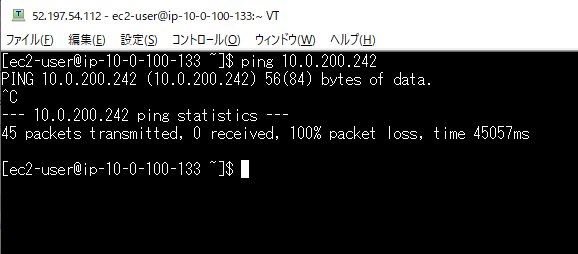
パブリックサブネットにあるEC2からプライベートサブネットにあるEC2にPingを実行し、
通らないことを確認します。

プライベートサブネットに適用されているセキュリティグループをクリックします。
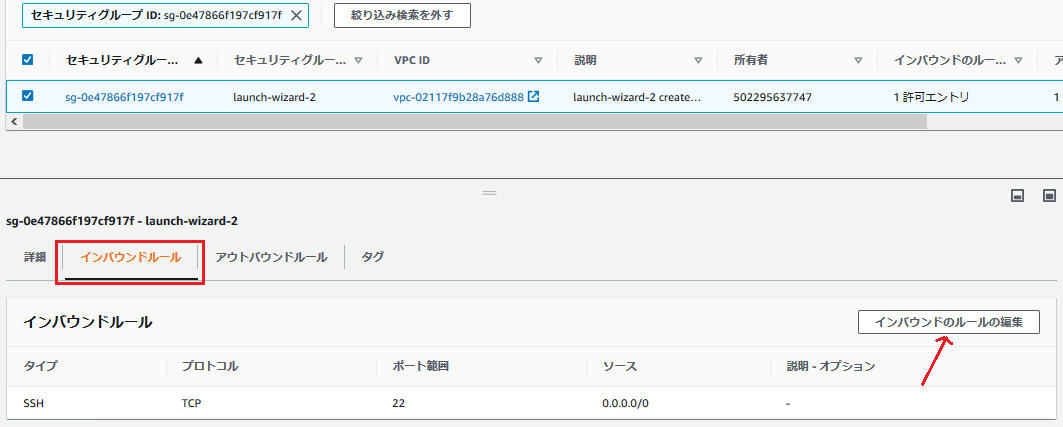
インバウンドルールのタブを選択し、Pingを許可するルールが無い事を確認してインバウンドのルールの編集をクリックします。
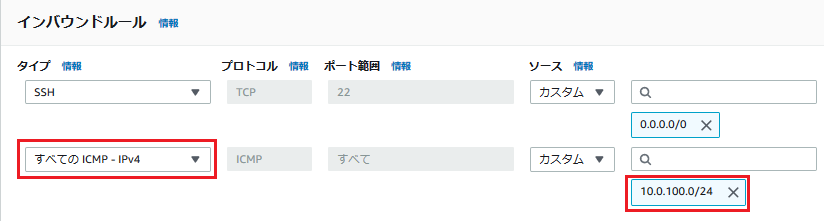
全てのICMP-IPv4を許可します。
ソース(送信元)はパブリックサブネットのNWアドレスである10.0.100.0/24を指定。
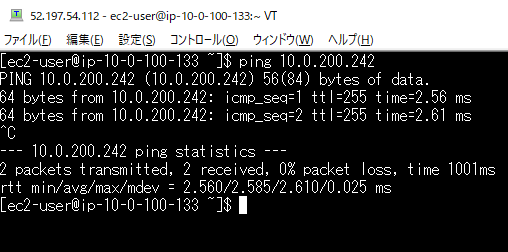
これでPingが通るようになりました。
セキュリティグループのおさらい
今回はパブリックサブネットのEC2にはHTTP通信の許可を、
プライベートサブネットのEC2にはICMP通信の許可の設定をしました。
セキュリティ関係はセキュリティグループの他にもネットワークACLやIAMポリシーなどもあり、曖昧にしていると混乱してくる可能性があります。
一つずつ簡単な設定を繰り返し行っていくことで、少しずつ整理できてくると思います。